
You’ll be a shelf made genius after this DIY!
03 Jul 2024
If you’re running out of space, or just want an extra space to show off your trinkets and personal possessions, then try these DIY floating shelves. We painted ours in the deep blue green of ReseneTarawera to match our wall, but you can paint yours in any of your favourite Resene shades.
You will need:
- Wood (to make two shelves) - use untreated pine: two 115mm deep x 18mm thick x 900mm long (shelf), two 90mm deep x 18mm thick x 900mm long (backboard), one 90mm deep x 10mm thick x 900mm long (brackets))
- Saw
- Lid or small bowl
- Pencil
- Jig saw or band saw
- Sandpaper
- Paintbrush
- Resene Quick Dry
- Sand-able hole filler
- Wood glue
- Electric drill and screws
- Resene Lustacryl paint tinted to your chosen colour. Fleur used Resene Tarawera
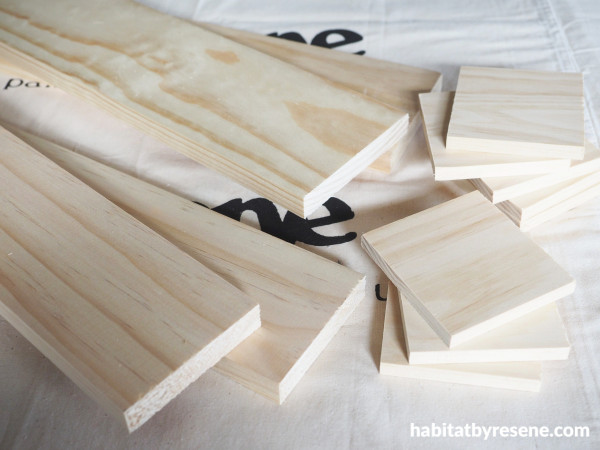
Step 1: For the shelf, cut the two lengths of 115mm x 18mm wood and the two lengths of 90mm x 18mm wood for the backboard to your desired length. Fleur cut hers down to 60cm long and for the eight brackets she used thinner wood (90mm x 10mm) and cut these down to 80mm long to form nearly a square at 90mm x 80mm. Sand any rough edges smooth.
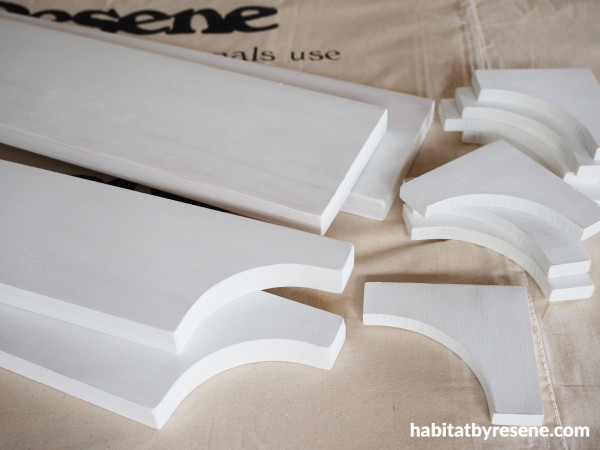
Step 2: Use a lid or small bowl and a pencil to create arches at both ends of the backboards and on each of the eight brackets. Use a jig saw or band saw to cut these out. Sand the rough edges smooth and wipe off the sanding dust. Prime everything with a coat of Resene Quick Dry.
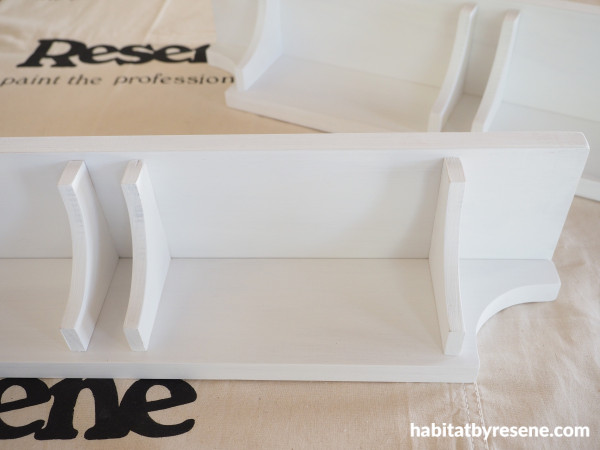
Step 3: Use wood glue to glue the backboard to the underside of the shelf. Secure with screws, screwed through from the top of the shelf. Fill holes with hole filler and once dry, sand smooth, wipe off the sanding dust, then paint over the filled holes with more Resene Quick Dry. Glue each of the brackets in place with wood glue. Fleur put a bracket at each end and two close together in the middle.
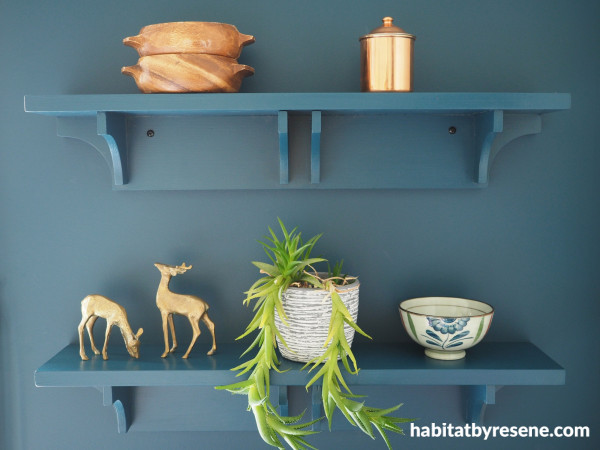
Step 4: Once the glue is dry, paint the shelves with two coats of your chosen colour. Fleur used ReseneTarawera. Once the paint is dry, screw the shelves to your wall.
Wall painted in Resene Tarawera.
project and images Fleur Thorpe
Published: 03 Jul 2024




 look book