
latest
habitat tv

Say goodbye to the morning scramble for keys, coats and sunglasses and hello to this… see this and more videos
blog

Relax into the vibrant tones of autumn with Resene and nood
With autumn’s arrival comes an invitation to unwind and indulge within the comforts of your… more
Look who’s chalking: DIY outdoor chalkboard
17 Oct 2023
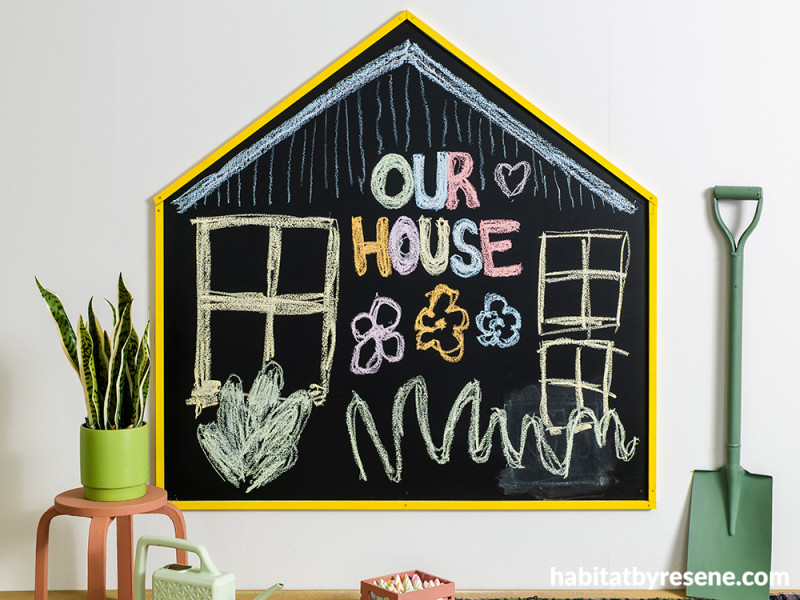
Unleash outdoor fun with this DIY kids' chalkboard! Encourage outdoor play and budding artists all in one. Using Resene FX Blackboard Paint and a few materials, you’ll have it up in no time - and the kids will love having their own canvas to play with.
You will need:
- 1x Plywood Sheet, non-treated, 1200x1200mm, 7mm
- 2x Pine Radiata Moulding, 18x18mm, 2400mm
- Pencil
- Ruler
- T-bevel or protractor
- Jigsaw or circular saw
- Handsaw
- 120 grit sandpaper
- Cloth
- 2x 230mm roller sleeves, handles and trays
- 2x mini roller sleeves, handles and trays
- Resene Quick Dry waterborne primer undercoat
- Resene FX Blackboard Paint
- Resene testpot in your chosen paint colour. We used Resene Turbo.
- Level
- Drill and drill bits
- Screws
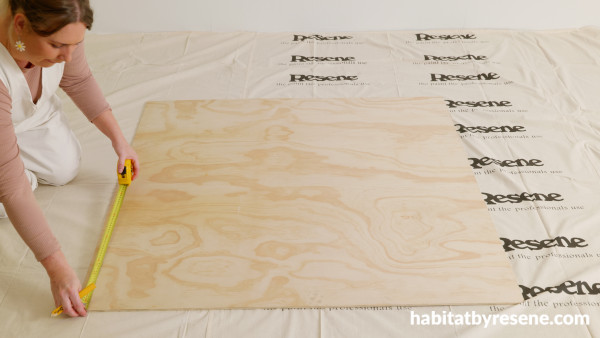
Step 1: On the plywood sheet, mark 750mm height up each side. Across the top, mark 600mm (halfway).
Step 2: Use a pencil and ruler to connect one of the side marks to the top mark. Repeat on the other side. This will create the triangle at top.
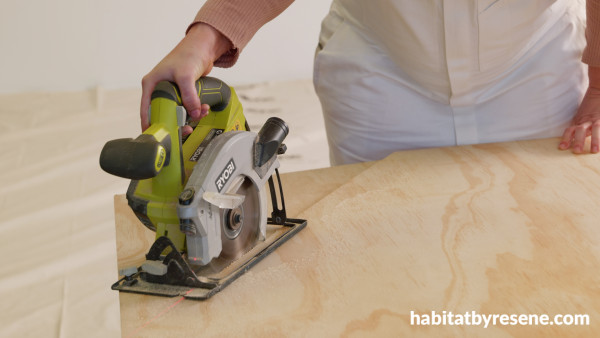
Step 3: Cut the plywood sheet with a jigsaw or circular saw and discard the top pieces.
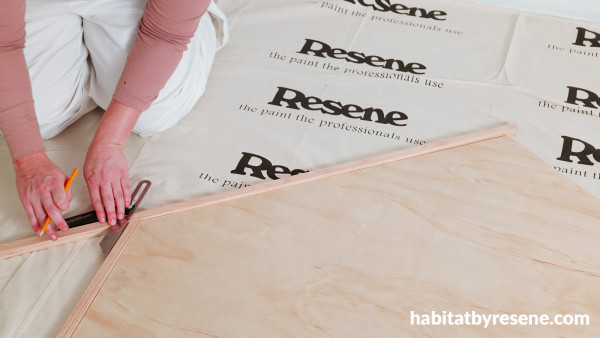
Step 4: Measure the pine moulding pieces to create a frame around the plywood sheet. Use a t-bevel or protractor to create the angles for each piece. *See below for the outline of angles for each piece.
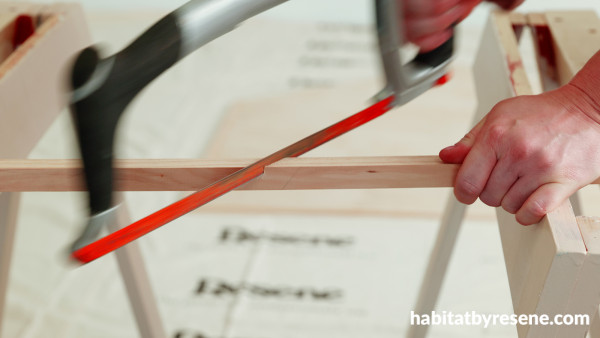
Step 5: Cut the moulding to size with a hand saw to create the trims.

Step 6: Sand the cut edges of both the plywood sheet and trims, and wipe with a cloth.
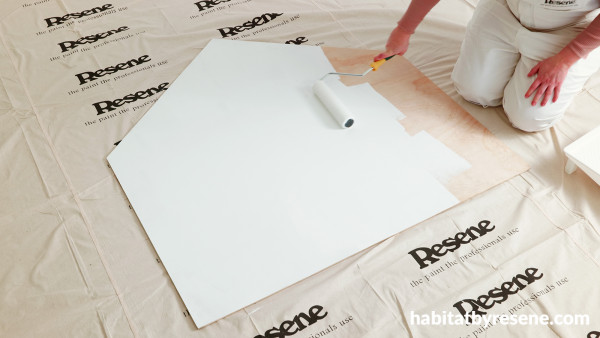
Step 7: Paint all surfaces with two coats of Resene Quick Dry Waterborne Primer Undercoat, using the recommended drying time between coats. This will ensure the pieces are all suitable for outdoor use.
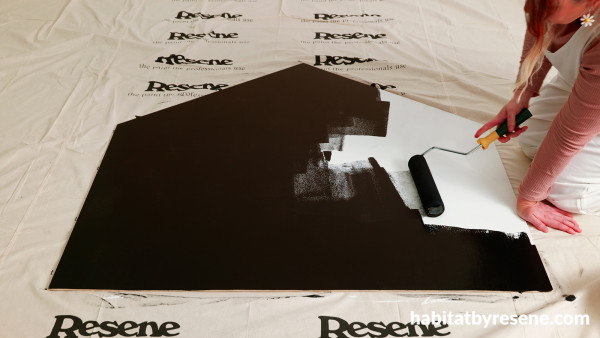
Step 8: Paint the plywood piece with two coats of Resene FX Blackboard Paint.
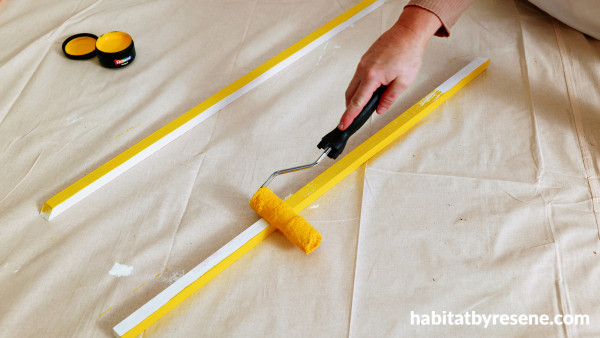
Step 9: Paint trims in your chosen Resene paint colour. We used Resene Turbo. Leave to dry according to the recommended drying time.
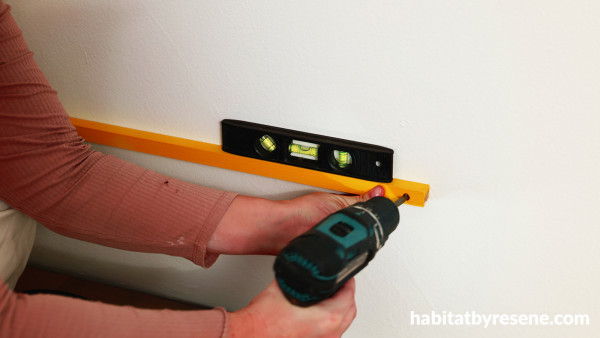
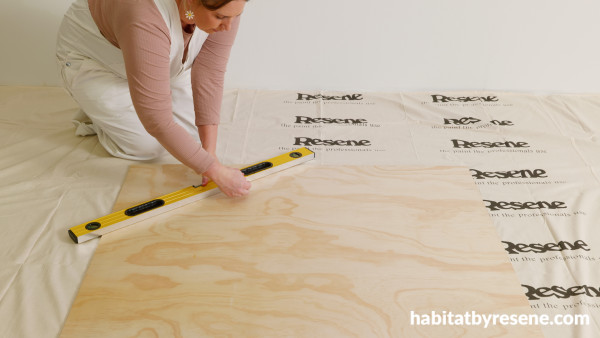
Step 10: Using a level, place the bottom trim at the desired height (ours is approximately 300mm) from the ground and screw it in place in the middle. Keep using the level, and screw in either side of the trim.
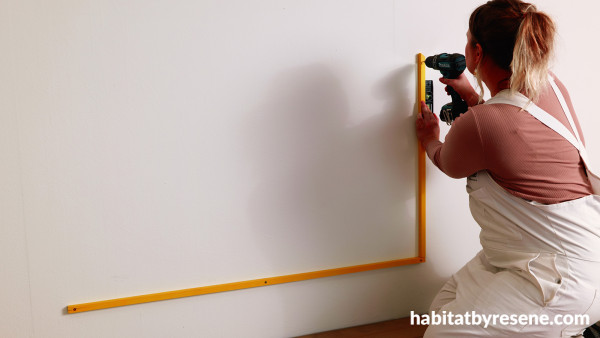
Step 11: Once again using a level, screw in the right side trim.
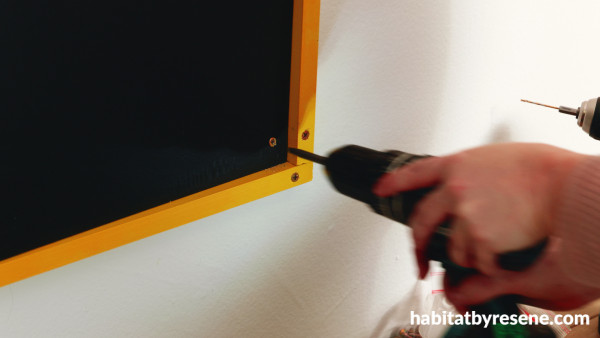
Step 12: Screw in the plywood piece, within the right and bottom trims that are already screwed in.
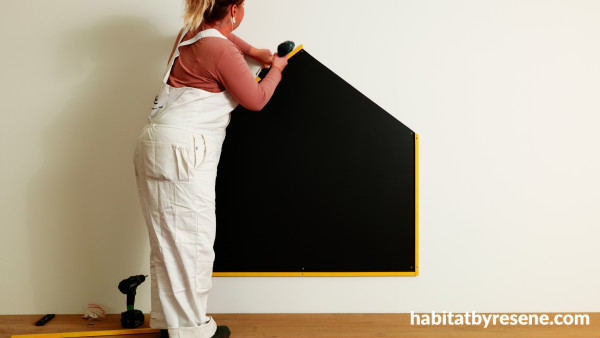
Step 13: Frame the plywood piece with the remaining left and top trims, screwing each one in.
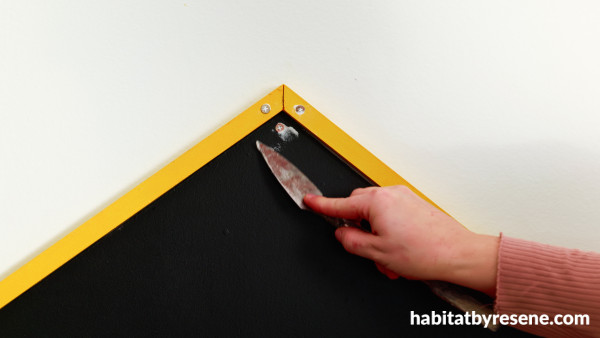
Step 14: Fill any holes and over screws with Resene EzyFill Quick Filler.
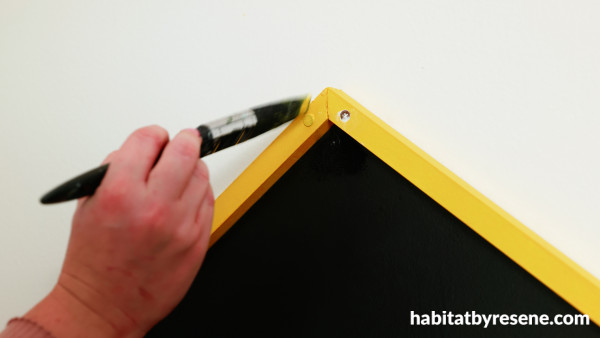
Step 15: Use a small brush and paint to dab over the filler.

Step 16: Chalk time! Get the kids, grab some chalk and start decorating!
Wall painted in Resene Black White, chalkboard in Resene FX Blackboard Paint with trims in Resene Turbo, decking stained in Resene Uluru, stool in Resene Summer Rose, plant pot in Resene Chelsea Cucumber, watering can in Resene Pale Leaf, chalk box in Resene Coral Tree, spade in Resene Half Rivergum.
project Leigh Stockton
images Patrick Roberts

*Use this angle guide to cut out your frame.
Published: 17 Oct 2023
more inspiration

Prickly perch: A DIY cactus key holder
Looking to add a touch of whimsy and functionality to… more

Hues on the move: A DIY rainbow mobile
Get ready to add a vibrant touch to your nursery,… more

Show your support this ANZAC Day with this DIY wreath
Anzac Day is a national day of remembrance in New… more

Sunny side up: Bookends for any weather
Brighten up your bookshelf and organise your books at the… more

A roar-some dish: DIY animal plates
Impress your guests with these DIY animal plates! The Resene… more


 look book