
latest
habitat tv

Say goodbye to the morning scramble for keys, coats and sunglasses and hello to this… see this and more videos
blog

Relax into the vibrant tones of autumn with Resene and nood
With autumn’s arrival comes an invitation to unwind and indulge within the comforts of your… more
Three Halloween DIYs to get you in the spooky spirit
11 Oct 2023
It’s spooky season and a time to decorate our homes in some disturbing décor! Get creative with your favourite Resene colours and pick up some testpots to celebrate Halloween! From lolly jars to wooden cats and spooky signs, we’ve got three DIYs that we know you’ll love! Get the kids involved and give these a go:
Wooden cats

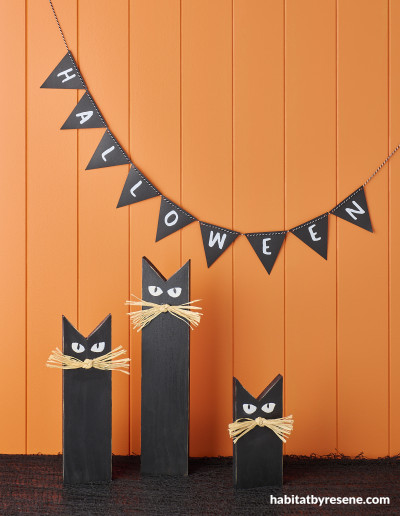
If you are a cat lover, then this cute Halloween décor project is just for you. Using three different lengths of pine we made three wooden cats and painted them black. We got creative and painted some eyes and added some raffia for the nose and whiskers. These don’t have to go away after Halloween either. They can be kept out all year round!
You will need:
- 3 pieces of pine which are 40cm, 30c, and 20cm in length, 2cm thick and 9cm wide
- Ruler
- Pencil
- Glue
- Resene testpot brush
- Resene testpots in colours of your choice. We used Resene Black and Resene Villa White
- Fine paintbrush
- 3 knotted piles of raffia
- Jig saw
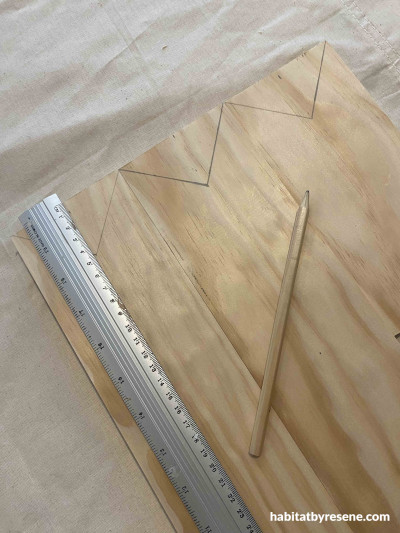
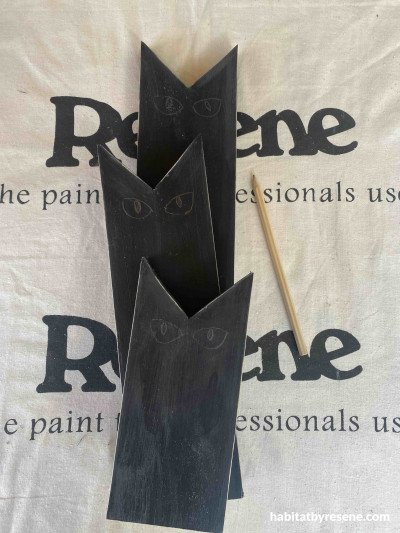
Step 1: Measure the middle of the wood which is 4.5cm and then measure down the wood 4.5cm and make a mark. Then using a ruler draw a line from each corner of the wood to the middle point. This will create a triangle which you will cut out to make each cat’s ears.
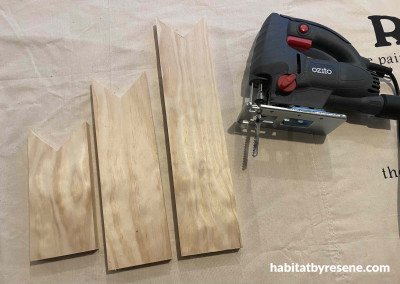
Step 2: Using a Jig saw cut out the excess triangle pieces of wood. You may need to give the ears a light sand to remove any rough patches.
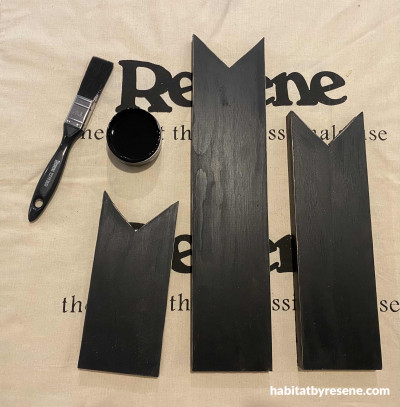
Step 3: Paint your cats in your chosen Resene colour. We used Resene Black. Two coats will give best coverage.
Step 4: Using your pencil draw the shape of the eyes onto the cats ready for painting.
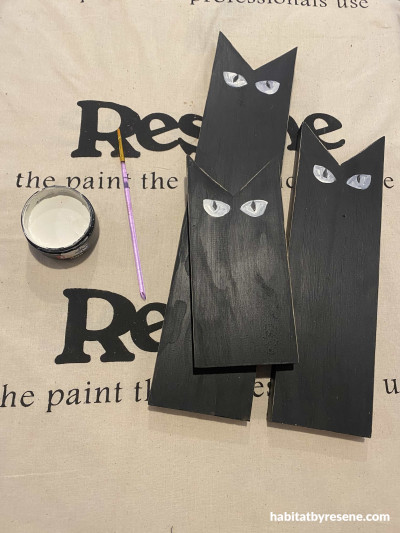
Step 5: Using a fine paintbrush, paint the eyes in your chosen Resene colour. We used Resene Villa White, but a piercing yellow would work well too, like Resene Wild Thing.
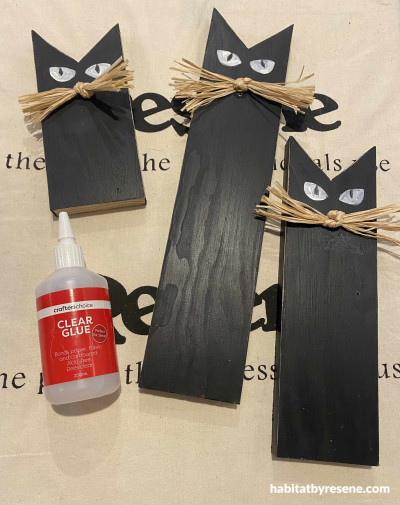
Step 6: Using your clear craft glue, glue your raffia piles onto the wooden cats, these act as the nose and whiskers.
Step 7: Place on a console or dining table to add a touch of Halloween to your space.
Top tip: Paint your cats’ eyes in Resene FX Nightlight for an extra glow-in-the-dark surprise.
Wall painted in Resene Ecstasy.
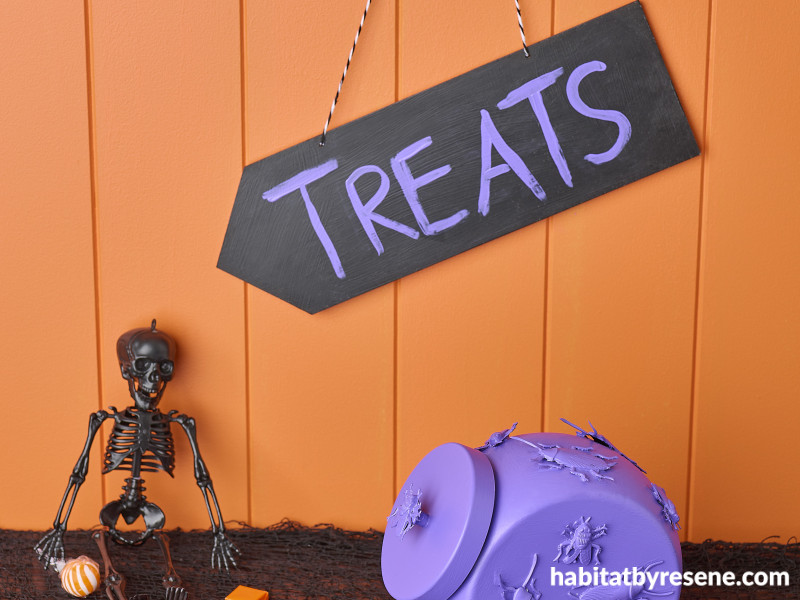
Spooky sign
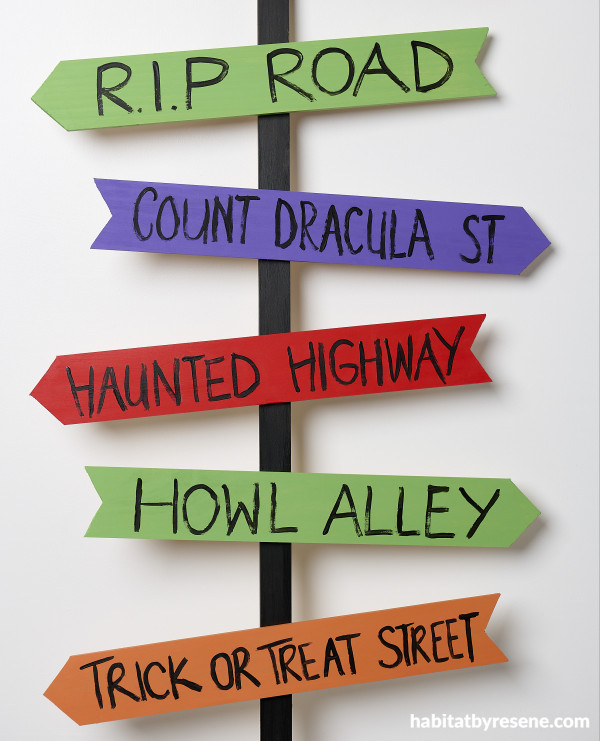
With Halloween fast approaching why not make one of these fun and easy Halloween signs to place in a pot by your front door or in your front lawn. You can use our sign names as a guide or get creative and come up with some of your own!
You will need:
- A piece of pine which is 1.8 metres long, 4cm wide and 1.8cm thick
- 6x pieces of pine which are 60cm long, 9m wide and 1cm thick
- Ruler
- Pencil
- Fine paintbrush
- Resene testpot brush
- Resene testpots in colours of your choice. We used Resene Black, Resene Groovy, Resene Ecstasy, Resene Daisy Bush and Resene Bright Red
- Jig saw
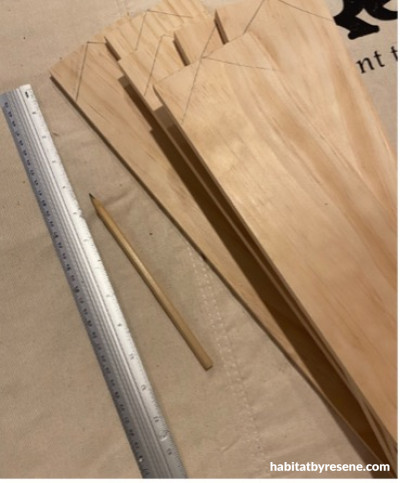
Step 1: Take your 60cm pieces of pine and at one end mark the middle of the wood with pencil and then measure 3cm down from the mid-point and mark with a pencil. Draw a line from each corner to that mid-point to create a triangle shape. This will be the end of your signs. At the other end of the wood measure the mid-point and mark with pencil and then measure down 6cm down each side and make a mark on each side. Take your ruler and draw a line from the mid-point to the side. Repeat for the other side and all pieces of wood.
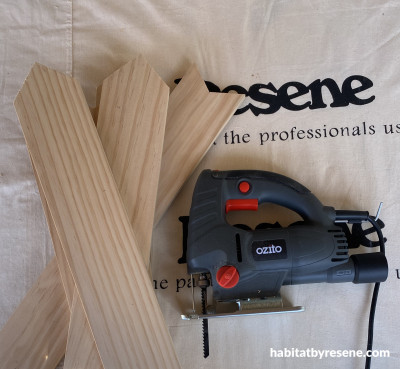
Step 2: Use your jigsaw to cut off excess wood. You may need to give the edges a light sand if they are rough.
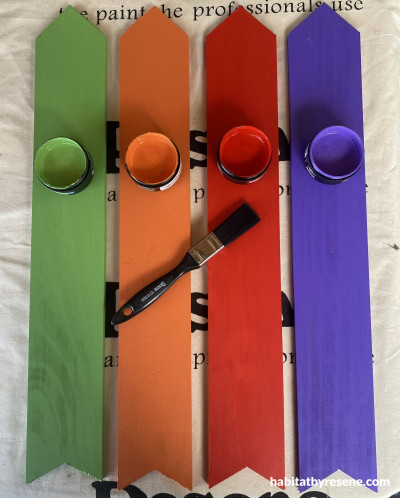
Step 3: Paint your signs in Resene testpot colours of your choice. We used Resene Ecstasy, Resene Daisy Bush, Resene Groovy and Resene Bright Red. Paint your long piece of pine in Resene Black.
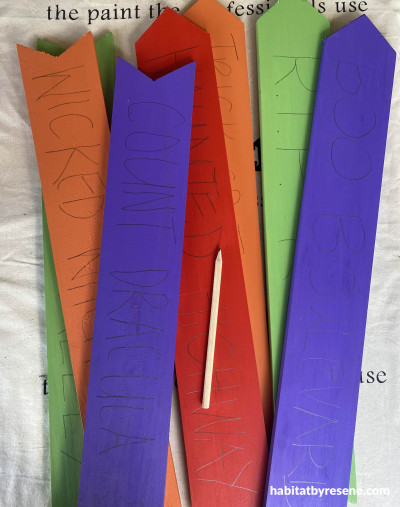
Step 4: Using your pencil write your spooky street names onto the wood pieces.
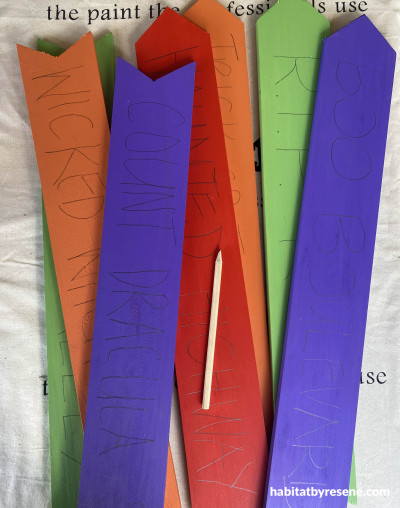
Step 5: Paint over the pencil letters in Resene Black using a fine paintbrush.
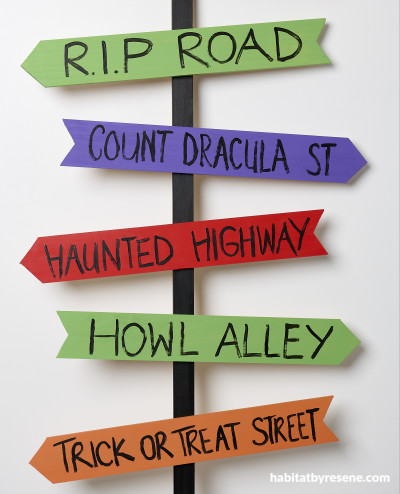
Step 6: Turn all your painted word sign pieces down flat on a surface and space accordingly and then place the long black piece in the middle of the signs and secure from the back with a nail or screw.
Wall painted in Resene Black White.
Bug lolly jar
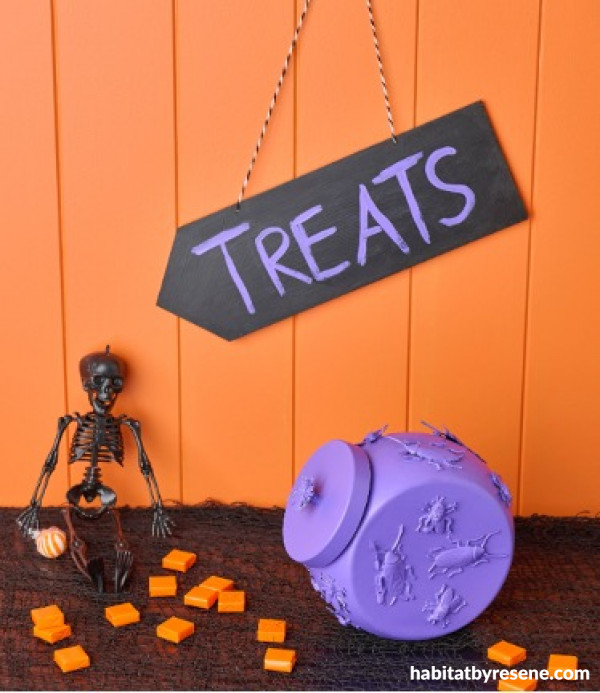
This is one project the kids will love being involved in this Halloween and is somewhere for them to store their spooky sweets after trick-or-treating! We took an inexpensive plastic lolly jar and gave it a coat of primer. We then glued plastic bugs onto the sides and lid and then painted it in Resene Daisy Bush. We popped in some lollies and there you go! Sometimes the simplest things are the best.
You will need:
- A plastic or glass lolly Jar
- Plastic bugs
- Clear craft glue
- Resene testpot brush
- Resene testpot in your choice of We used Resene Daisy Bush
- Resene Quick Dry primer
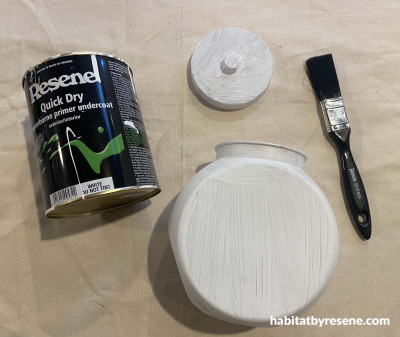
Step 1: Give the lolly jar a coat of Resene Quick Dry primer. This will help the paint stick to the plastic or glass.
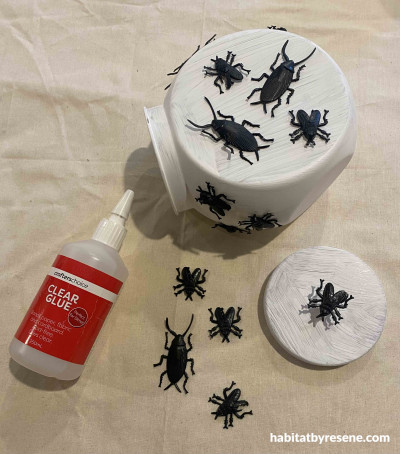
Step 2: Glue your plastic bugs to the lolly jar using clear craft glue
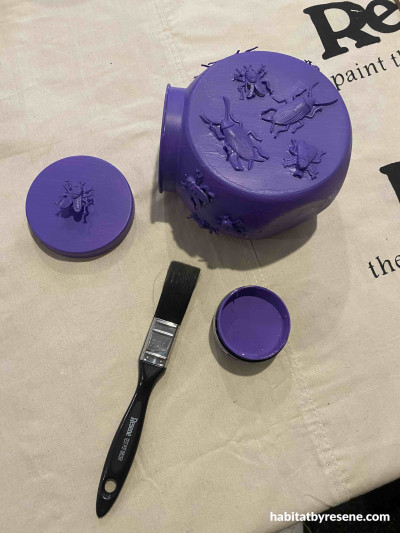
Step 3: Paint your lolly jar in your chosen Resene colour, we used Resene Daisy Bush. You will need two coats of paint for best coverage.

Our bright wall is painted in Resene Ecstasy, lolly jar in Resene Daisy Bush and treats sign in Resene Black with Resene Daisy Bush.
projects Vanessa Nouwens
images Bryce Carleton
Published: 11 Oct 2023
more inspiration

Prickly perch: A DIY cactus key holder
Looking to add a touch of whimsy and functionality to… more

Hues on the move: A DIY rainbow mobile
Get ready to add a vibrant touch to your nursery,… more

Show your support this ANZAC Day with this DIY wreath
Anzac Day is a national day of remembrance in New… more

Sunny side up: Bookends for any weather
Brighten up your bookshelf and organise your books at the… more

A roar-some dish: DIY animal plates
Impress your guests with these DIY animal plates! The Resene… more


 look book